
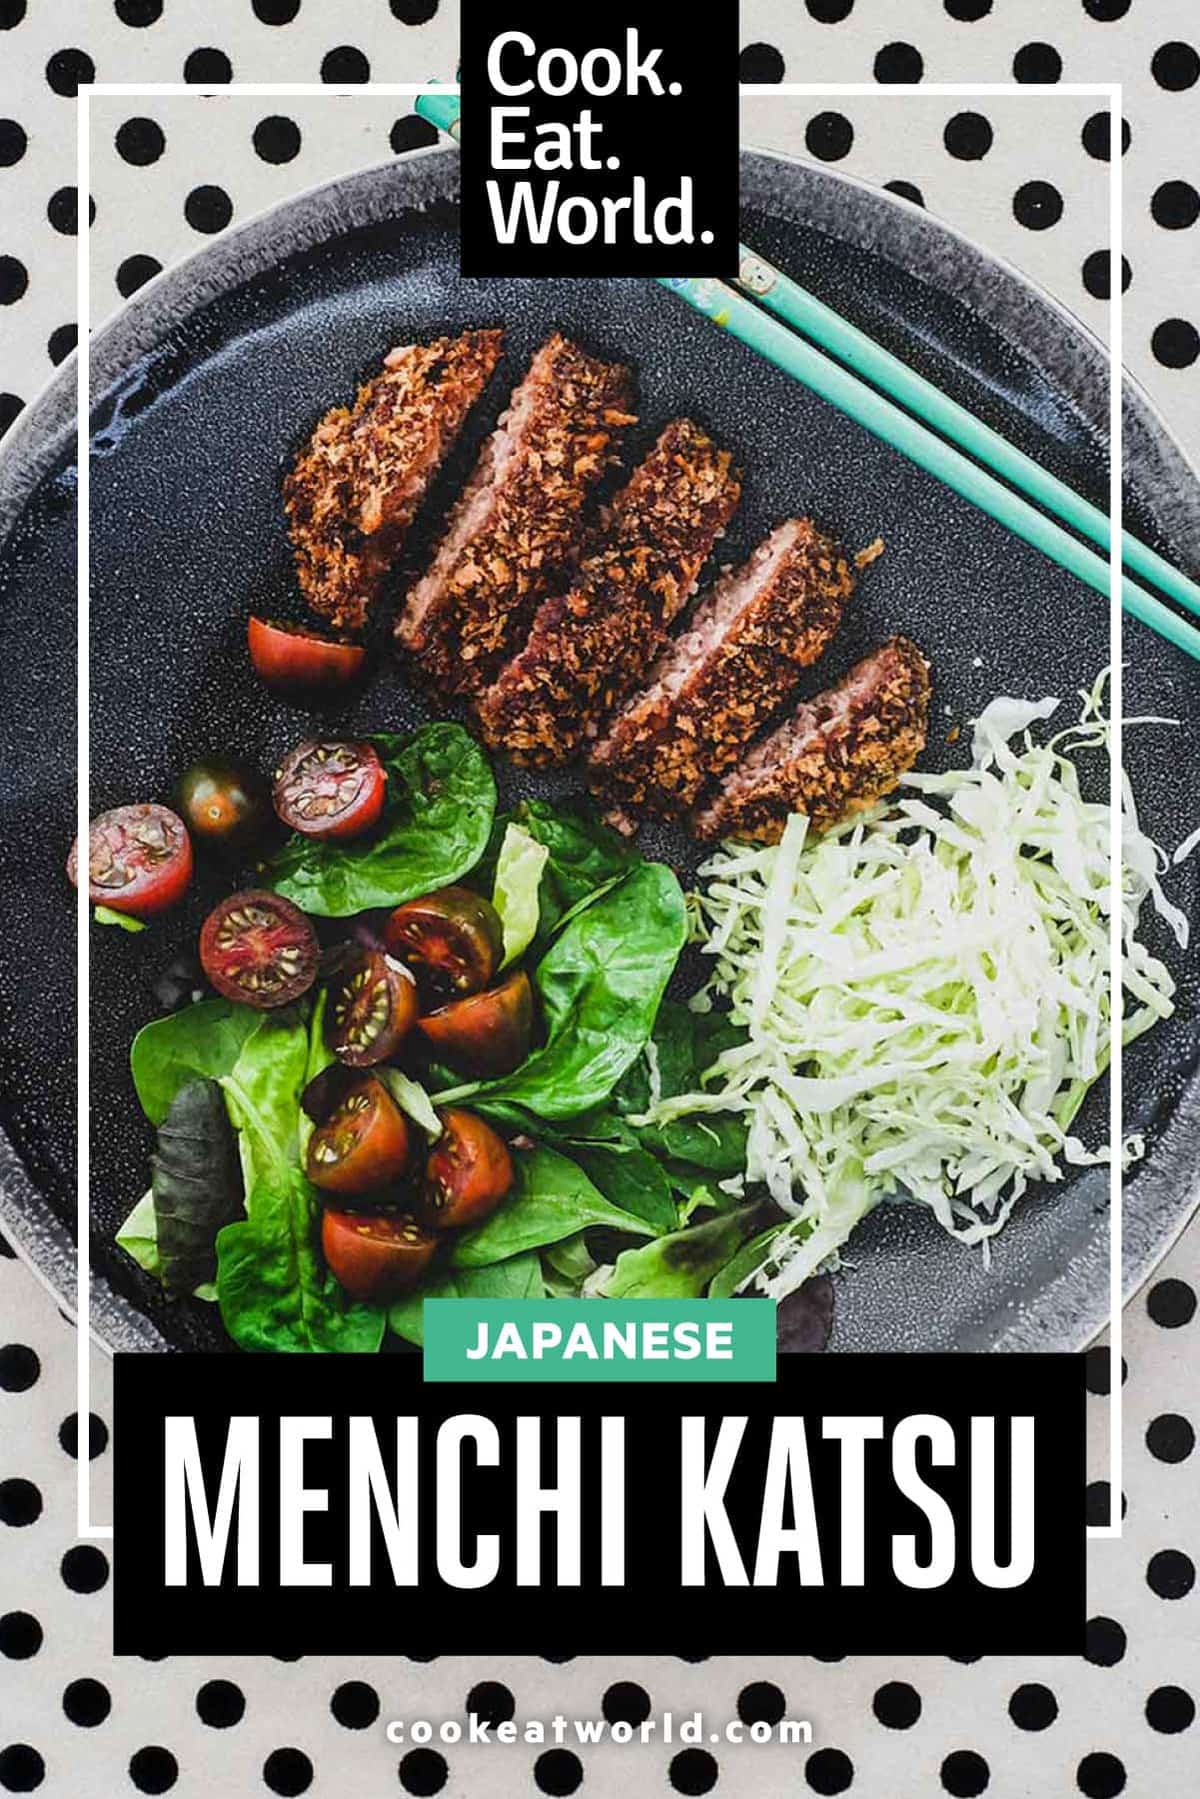
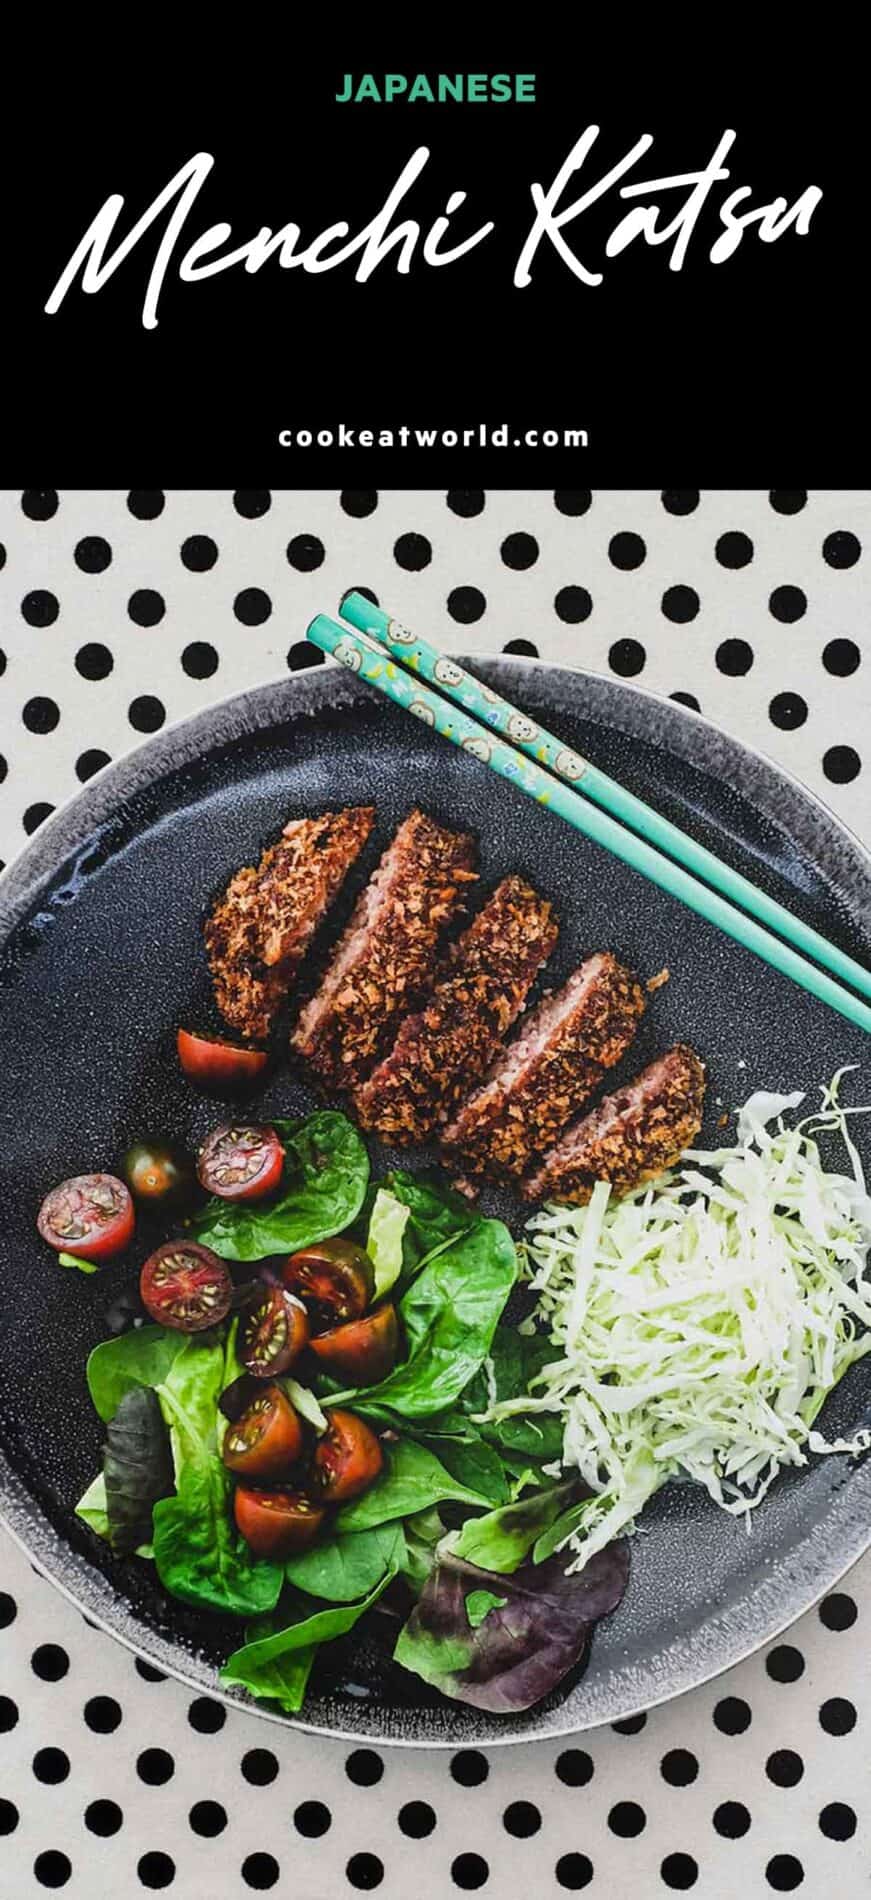
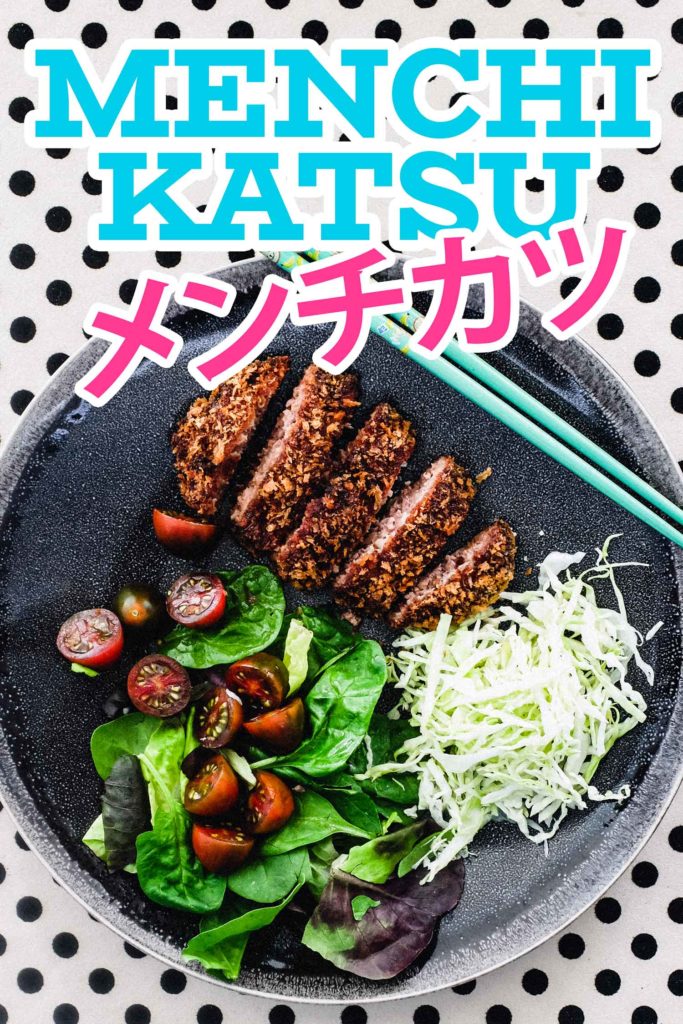
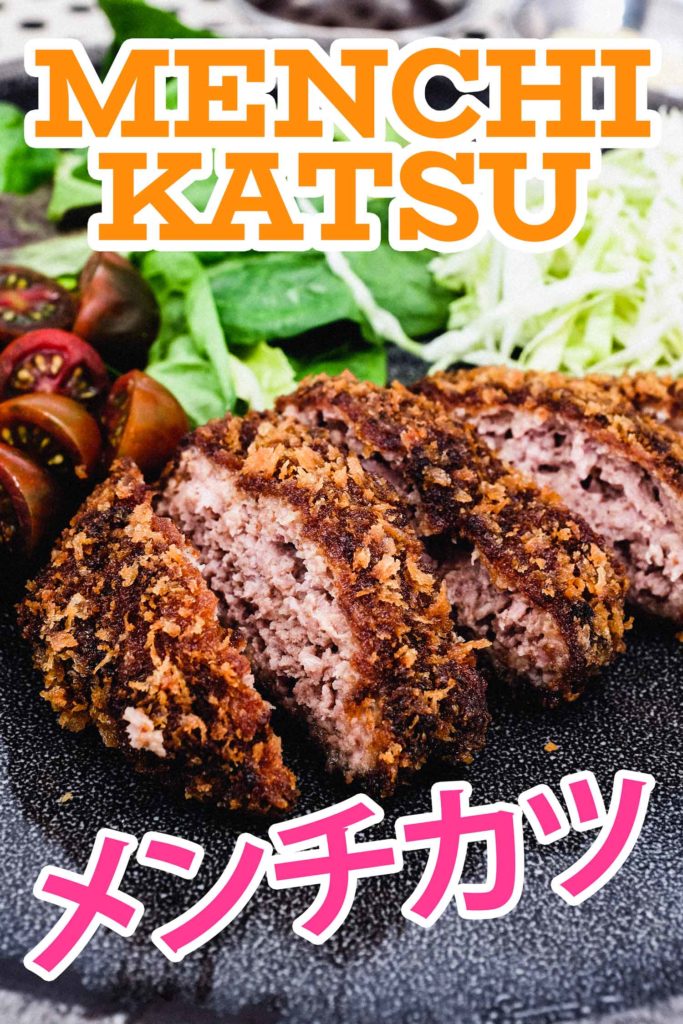

Menchi Katsu – メンチカツ
By Lee Jackson ↣ Published on: October 23, 2020
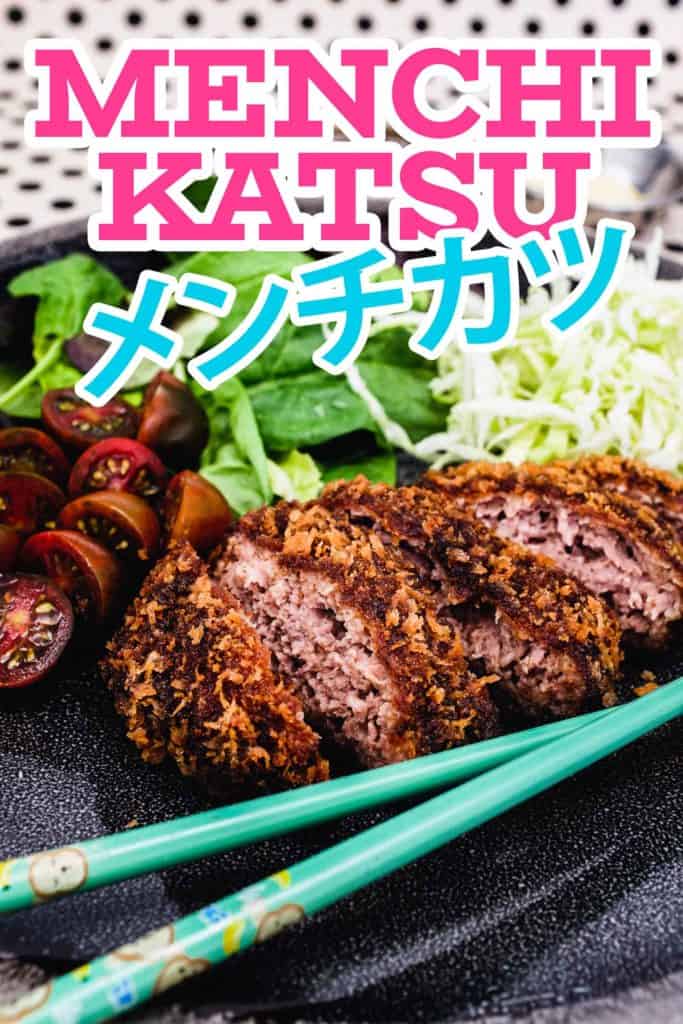
For the juiciest, crunchiest taste and texture sensation there is nothing quite like my amazing Japanese Menchi Katsu! A delicious crunchy japanese style hamburger with all the flavour and texture you could ever dream of.

I'm a big fan of Japanese Katsu (cutlet). I've long been singing the praises of Katsudon and Katsu Curry but the newest member of my Japanese Katsu obsession is the Menchi Katsu! A wonderful meat pattie, rolled in panko and deep fried to crisp perfection.
This recipe is part of my Asian and Asian Street Food collections, where you’ll discover more fragrant favourites.
It's juicy, crunchy and full of flavour and the most perfect home-spun comfort food, Japanese style.
What's Ahead?

What is Menchi?
From Japanese, Menchi Katsu has a roundabout translation of "minced cutlet". The cutlet itself is just that, a combination of ground (minced) pork and beef which is seasoned and shaped into patties. The real magic happens when those patties are coated in Panko breadcrumbs and deep-fried. The results are nothing short of miraculous. A crunchy, juicy, soft and crisp taste and texture delight. Panko are the king of breadcrumbs - I use them for ALL my breading needs - the larger sized crumb really does make the WORLD of difference when it comes to deep frying. The results are a crunchier, more textural experience.
Menchi katsu, named minchi-katsu (ミンチカツ) in some parts of Japan are typically included in Bento box meals, but also as a meal in itself served with shredded cabbage and salad. They're perfect snack foods too!
Why Menchi work?
There are many reasons why I (and much of Japan) love menchi katsu!
- They're juicy and full of flavour.
- They're deep-fried.
- You can dip them into delicious Japanese sauces.
I just love Japanese mayonnaise! I know in my heart that it's probably the most calorific nightmare, but oh boy, it's umami heaven! And while we're on the topic of umami, my other favourite Japanese sauce is Takoyaki Sauce - a brown sauce usually reserved for takoyaki octopus balls, but I much prefer it to the traditional Tonkatsu Sauce (a Worcestershire sauce based condiment) which is most often paired with katsu. I find takoyaki milder and less astringent than tonkatsu. But you can decide yourself which you prefer.

Stuff You'll Need
Menchi are easy, with only a few easy to find ingredients. The accompanying sauces can be bought from many Asian supermarkets or online.
- For the menchi katsu patties - you'll need gound pork and beef, onion, panko breadcrumbs, soy sauce, nutmeg, tomato kechup, Worcestershire sauce, egg and salt & pepper.
- For the breading station - all purpose (plain) flour, egg and panko breadcrumbs.
- Oil for deep frying - I like a bland oil like canola or sunflower.
- Garnishes - I like a simple leaf salad with cherry tomatoes and some finely shredded cabbage.
- Sauces - buy your Tonkatsu Sauce or Takoyaki sauce and Japanese Mayonnaise from many Asian stores or online.


Step by Step
Introductory sentence + process shots
- Step 1 - Using your hands, mix together the pork and beef, cooked onion, breadcrumbs, soy sauce, nutmeg, kechup, Worcestershire sauce, salt & pepper and egg until you have a thick, sticky paste.
- Step 2 - Take a handful (about the size of a small lemon) and shape a ball then flatten into an oval shaped pattie.
- Step 3 - Toss the pattie into the flour bowl and coat, then tap gently to remove the excess.
- Step 4 - Dip the pattie into a bowl with beaten egg to coat then gently tap to remove the excess.
- Step 5 - Place the pattie into a bowl of panko breadcrumbs and coat completely. Give a final gentle tap to remove any excess breadcrumbs then place on a plate. Repeat steps 2-5 again with more meat mixture until you've used it all up. You should make anywhere between 4-6 patties depending on the size you make them.
- Step 6 - Heat a small pan of oil to a temperature of around 160ºC/320ºF. Using a slotted spoon, add a couple of menchi to the pan and fry for 6-8 minutes, turning a few times during cooking. The menchi should turn a dark golden brown. Remove from the pan and drain on paper towels. Repeat this with the remaining menchi, and serve.
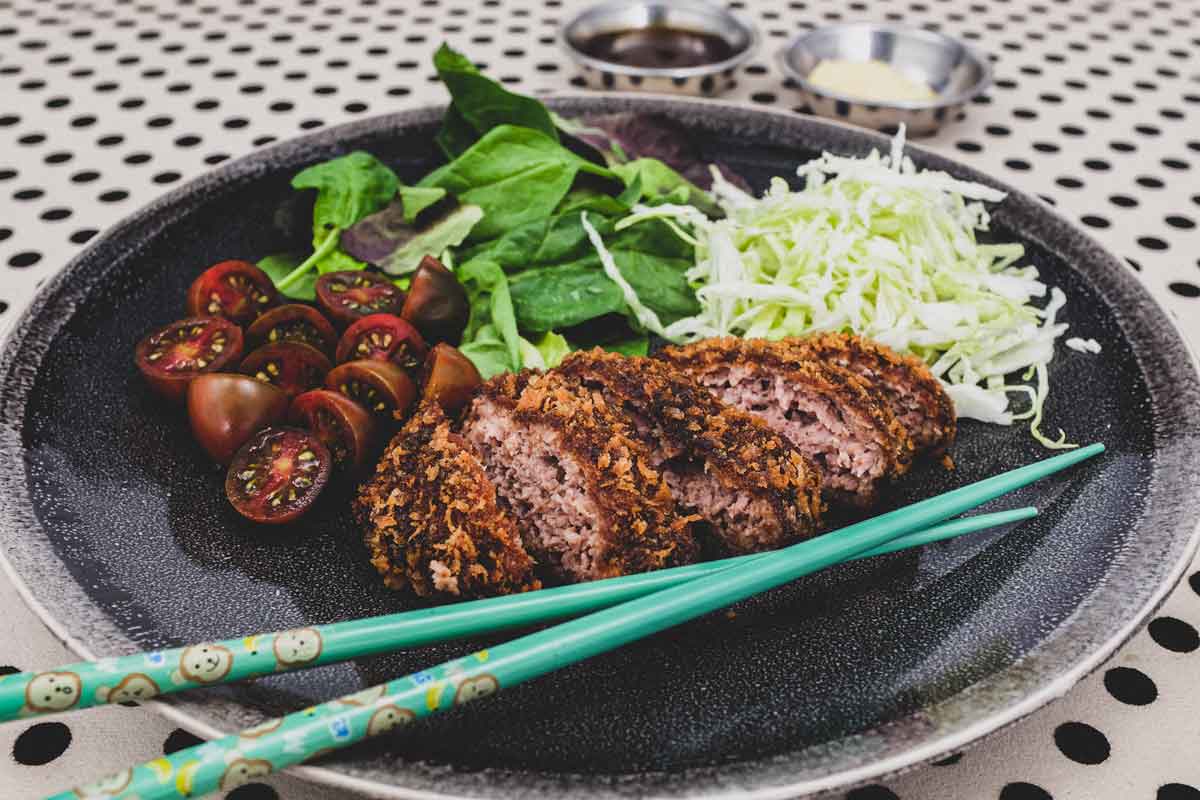
All that's left is to plate up. I like to eat my menchi with a simple salad of leaves and cherry tomatoes and some finely shredded cabbage. I normally don't bother with a salad dressing and instead use my dipping sauces for flavour or coat the menchi with cris-crossing lines of both sauces if I'm feeling fancy.

Pro Tips and storage suggestions
- Mix up your meats - the combination of pork and beef mince gives a lovely juicy finish to the menchi, but you can use one or the other exclusively. You might also like to try other ground meats like chicken, turkey and even lamb.
- Freezing *Option 1* - Freeze before frying. Freeze in a single layer on a baking sheet, then when solid, add to a large freezer bag. Simply defrost before deep frying and cook as normal.
- Freezing *Option 2* - Freeze after frying. Cook the menchi then, when cooled, freeze in a single layer on a baking sheet. When solid, place into a freezer bag. Before eating, defrost thoroughly, then reheat for 10 minutes into a 400ºf/200ºc oven, until piping hot.
- Refrigeration - Make the menchi up to stage 5 and then cover in plastic until you're ready. You can do this up to 2 days before you need them, and keep in the fridge.
Leftover cooked menchi are good in the fridge for 3-4 days. Reheat in the oven for 10 minutes and they should crisp up again.

Ready to get cooking?
I know it's not really a hard sell to a deep-fried, breaded meat pattie, but I need to underscore just how delicious these Menchi Katsu are and with a recipe so simple, you can have them whipped up and on the plate in no time at all. I hope you enjoy!

More delicious Japanese recipes
If you liked this, then you must try more of my delicious Japanese recipes.
Any Questions? (FAQ)
Have a question about Menchi katsu? Let me know in the comments.
What are menchi katsu?
Menchi katsu is a popular Japanese dish made with minced meat, typically beef or pork, that is mixed with onions, seasonings, and sometimes vegetables, then formed into a patty, coated with breadcrumbs, and deep-fried until golden brown and crispy. The name "menchi" is derived from the English word "mince," referring to the minced meat used in the dish, while "katsu" refers to the breaded and deep-fried cooking method common in Japanese cuisine.
This recipe uses affiliations and may receive a commission based on your activity (link clicks). Learn more.
Video Recipe
Ingredients
For the menchi katsu patties
- ½ cup onion (finely diced)
- 1 tbsp canola oil
- ½ lb ground pork (mince)
- ½ lb ground beef (mince)
- ⅓ cup panko breadcrumbs
- 1 tbsp soy sauce
- ¼ tsp ground nutmeg
- 1 tbsp tomato ketchup
- 1 tsp Worcestershire sauce
- 1 egg
- ½ tsp salt
- pinch white pepper
For the breading and frying
- 2 tbsp all-purpose flour (plain)
- 1 egg (beaten with 2 tbsp water)
- 2 cups panko breadcrumbs
- Canola oil (for deep frying)
Garnish
- white cabbage (finely shredded)
- cherry tomatoes
- Takoyaki or Tonkotsu sauce
- Japanese mayonnaise
Instructions
To make the Menchi Katsu patties
- Heat the oil in a small frying pan until just hot. Fry the onion gently for 3-4 minutes until softened and lightly golden. Remove from the pan into a mixing bowl and cool for 5 minutes.
- Add all the other Menchi Katsu patty ingredients into the bowl with the onion and, using your hands, combine the mixture until very well combined. The mix should be sticky.
Create a breading station
- In 3 separate bowls add one with flour, another with the beaten egg and the last with Panko
- Divide the menchi mix into 8 equal portions and shape each into a thick burger-shaped patty. I press mine on either side to make them slightly oval too.
- Dip the menchi into the flour to coat. Tap off any excess flour then dip into the egg. Again carefully shake off any excess before dipping into the Panko. Cover well, shake off the excess and place on a plate.
- Repeat this process with all the menchi. Cover the plate loosely with plastic wrap and place in the fridge for ½ hour (or until you’re ready to cook – you can make up to 2 days in advance!). Refrigerating will help the breadcrumbs set, ensuring that they don’t slide off or break up during cooking.
- When you’re ready to cook, heat your deep fryer or heat a small pan to around 3-inches of oil until just hot (around 160ºC/320ºF) – a cube of bread should sink then gently rice to the surface bubble when added. If the oil is too hot, remove from the heat and cool.
- Using a slotted spoon, add a couple of menchi to the pan and fry for 6-8 minutes, turning a few times during cooking. The menchi should turn a dark golden brown but be careful to not let them burn.
- Remove the menchi and place on paper towels to absorb the excess oil. Place in a warm oven as you repeat the process with the remaining menchi in batches of two.
- Serve with a little salad and shredded cabbage and the sauces on the side.
Notes
- Vary your meat choices - mixing pork and beef mince imparts a delightful, juicy texture to the menchi, but you can opt for one type exclusively. Consider experimenting with alternative ground meats such as chicken, turkey, or lamb.
- Freezing Method 1: Freeze before frying - Arrange the menchi patties in a single layer on a baking sheet and freeze until solid. Transfer them to a large freezer bag for storage. Before deep frying, thaw thoroughly and cook as usual.
- Freezing Method 2: Freeze after frying - After cooking the menchi, allow them to cool before freezing them in a single layer on a baking sheet. Once frozen solid, transfer them to a freezer bag. Prior to consumption, ensure thorough defrosting, then reheat in a 400ºF/200ºC oven for 10 minutes or until piping hot.
- Refrigeration - Prepare the menchi up to the breading stage, then wrap them in plastic until needed. This can be done up to 2 days in advance, and they can be stored in the refrigerator. Leftover cooked menchi can be refrigerated for 3-4 days. To reheat, place them in the oven for 10 minutes to restore crispiness.
Nutrition
And??? How do I cook it?
Strange! Half the recipe dropped off… I have reinstated! Thanks for alerting me. :)